Slack
Welcome to the Slack Integration section of Jarvis Helpdesk! This guide will walk you through the process of integrating Slack with the Jarvis Helpdesk system.
Integration Steps
-
Go to the Settings section and open the App Integration page.
-
A list of third-party applications will be displayed. Find the Slack application and click to add.
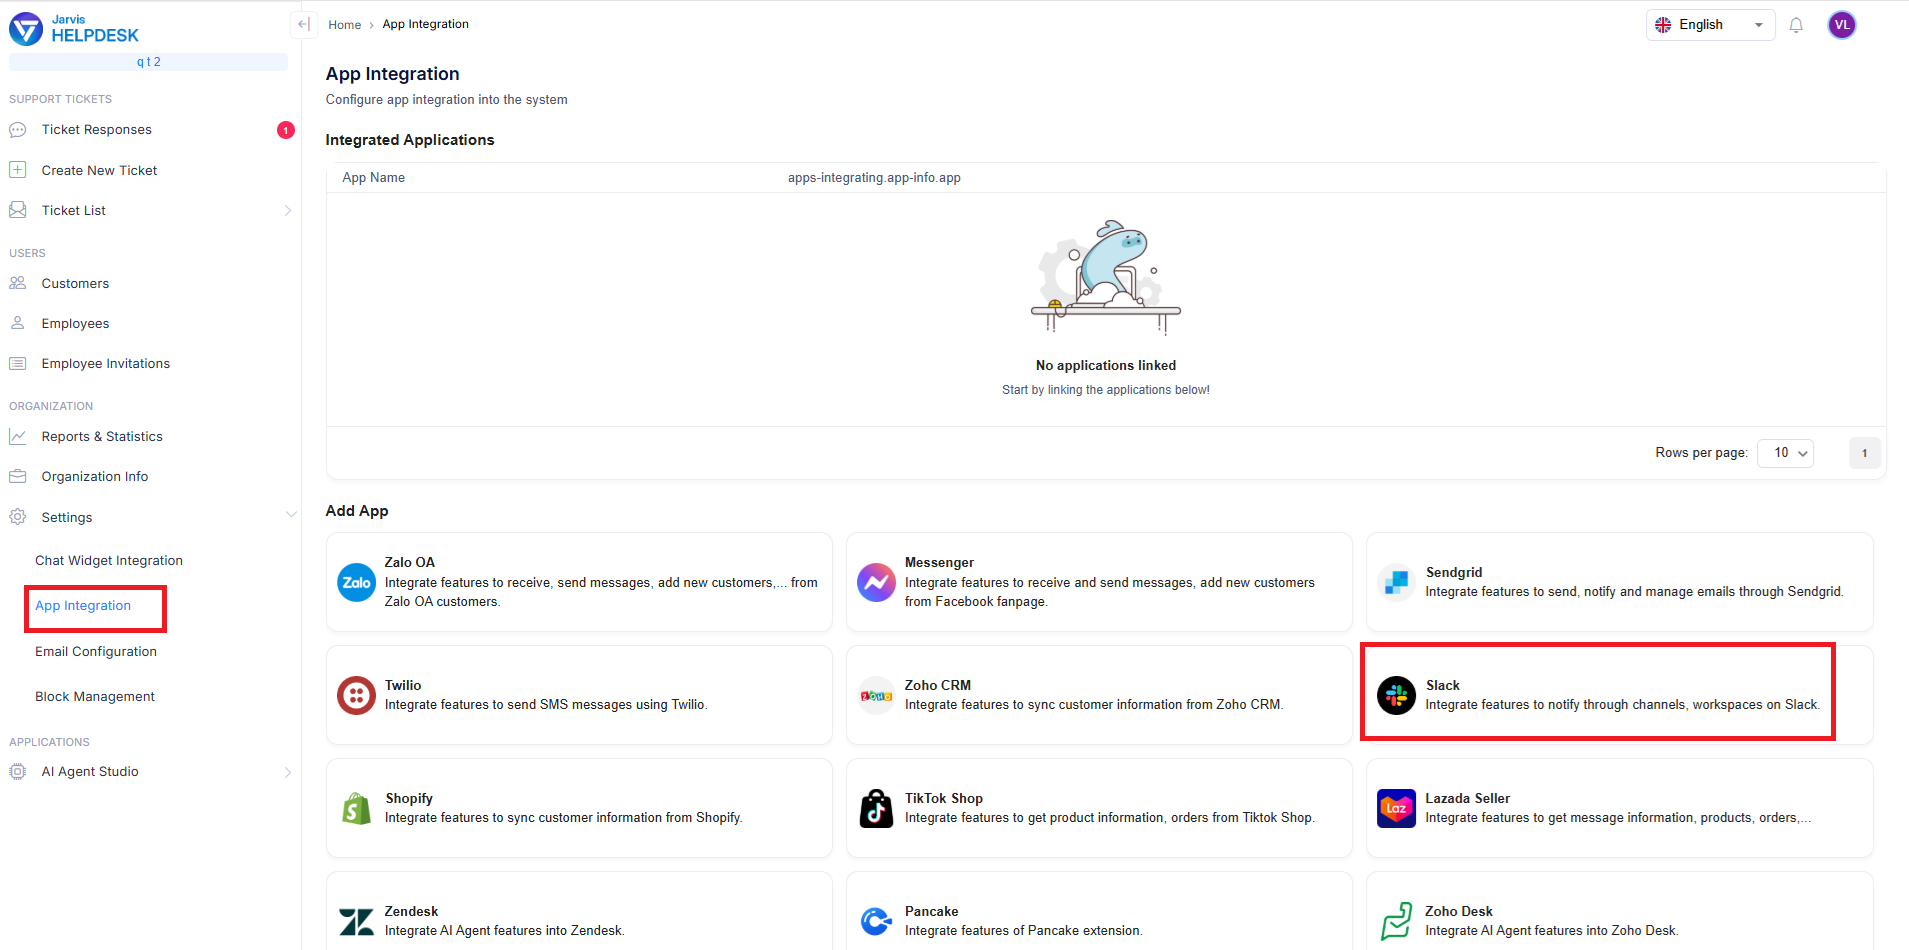
Add Slack integration
- Click the Integrate button to begin the integration process.
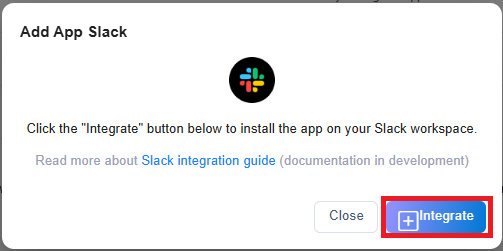
Start Slack integration
- The OAuth process screen will be displayed, requesting permission to install the Jarvis Helpdesk application in your Slack workspace. Click the Allow button to confirm.
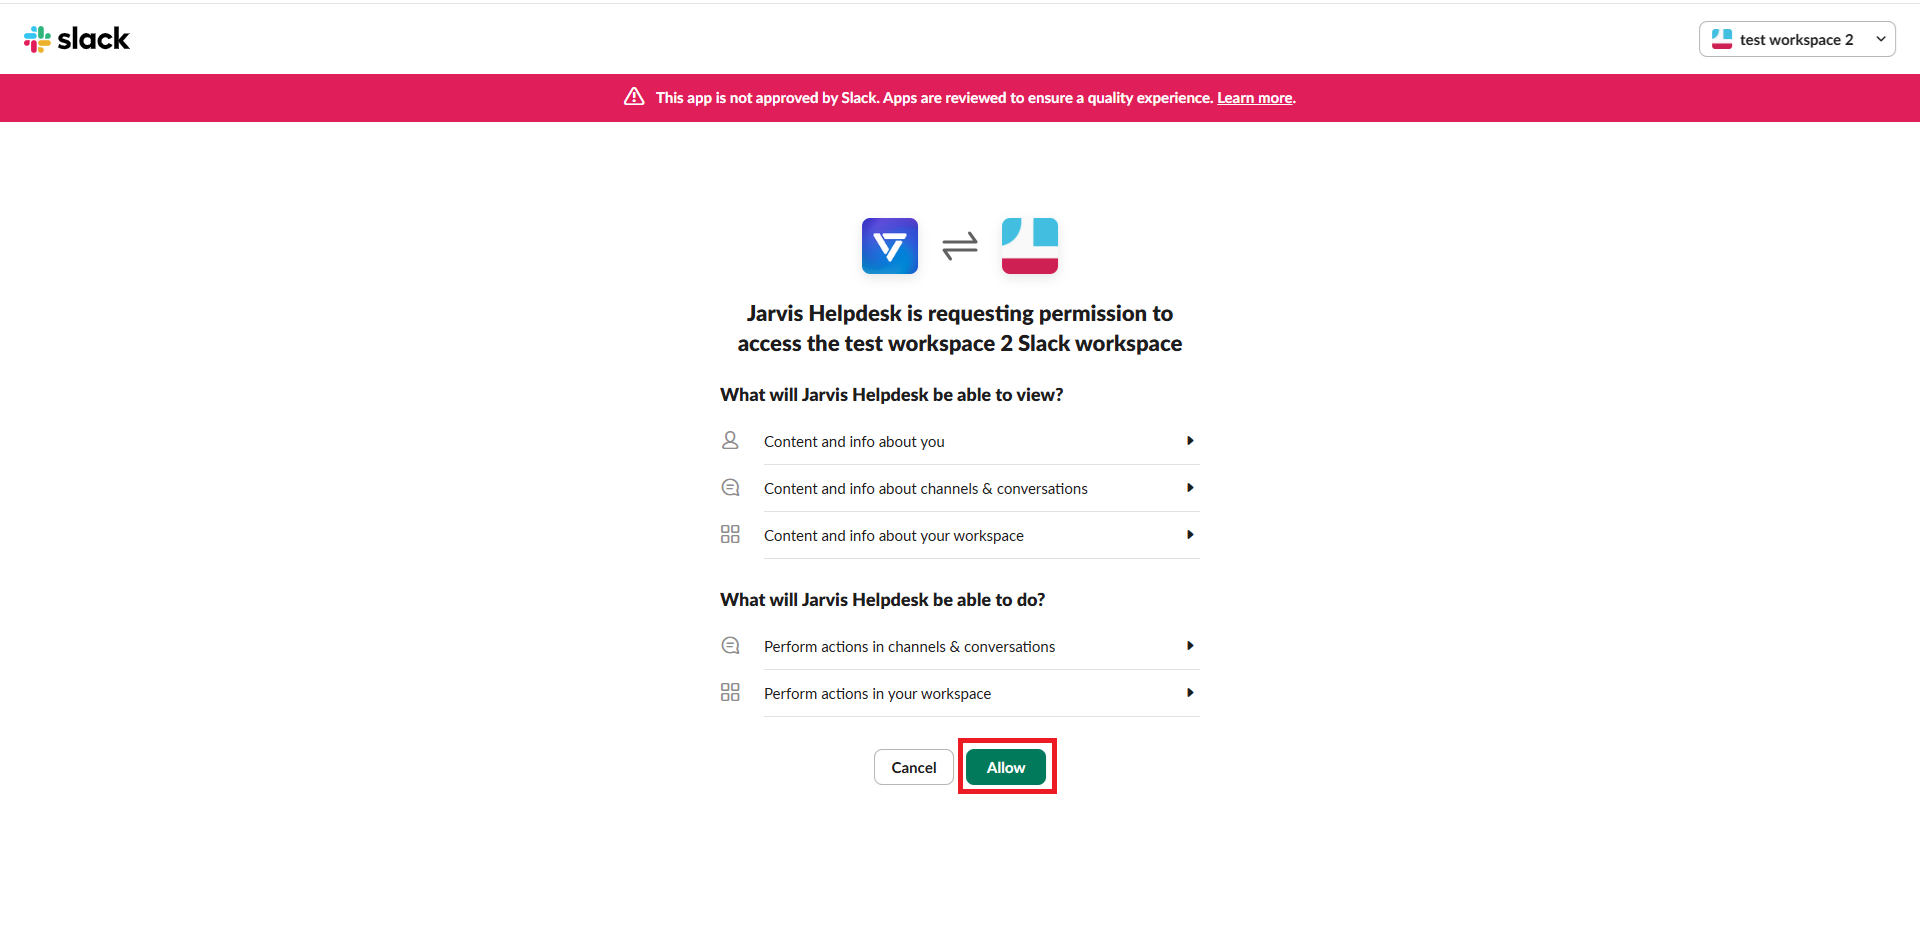
Grant Slack permissions
- After successful confirmation, you will be redirected back to the system with a "App added successfully" message. Click the Add Channel button in the Linked Channels section to add notification channels.
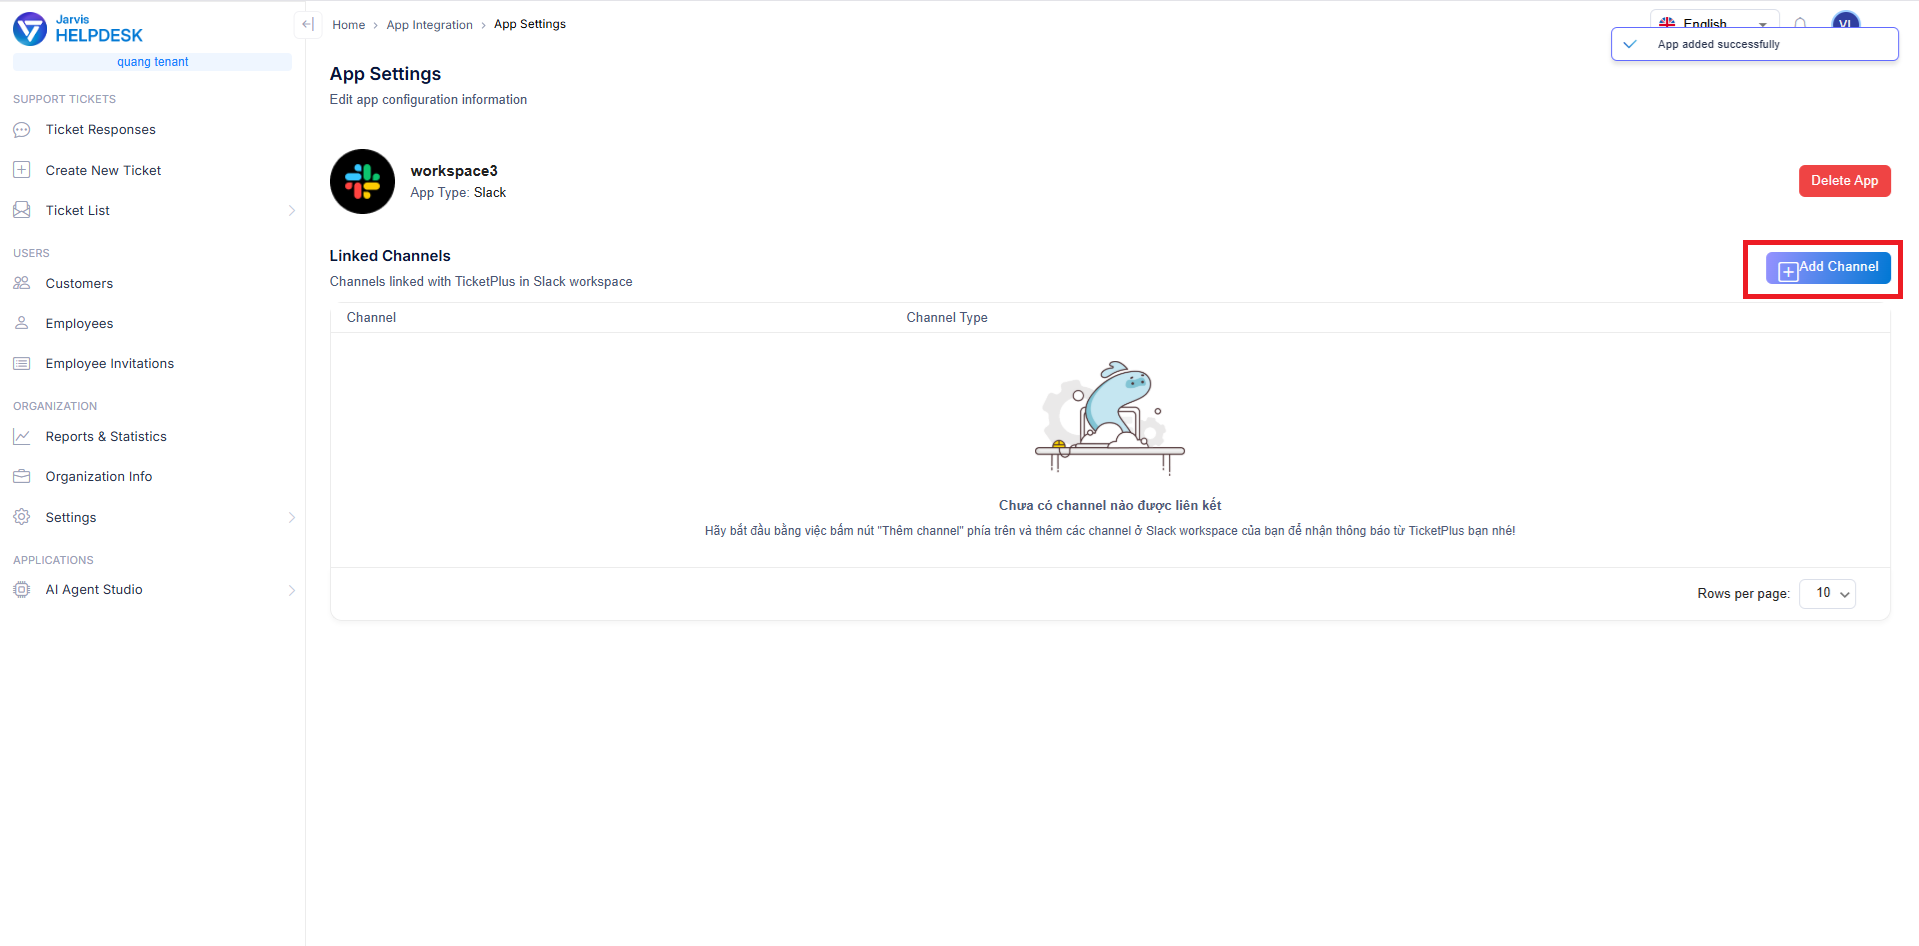
Add notification channels
- A list of channels from your workspace will be displayed. Select the channels you want to receive notifications and click Confirm.
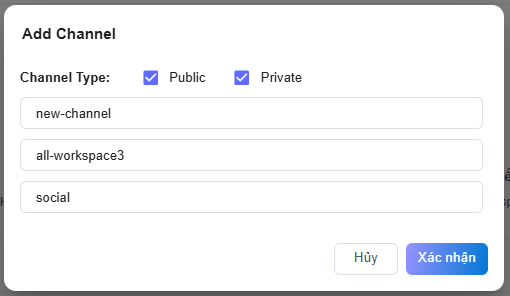
Select notification channels
- By default, all channels will receive all types of notifications from the system. You can customize this by going to the Settings section of each channel and making changes.
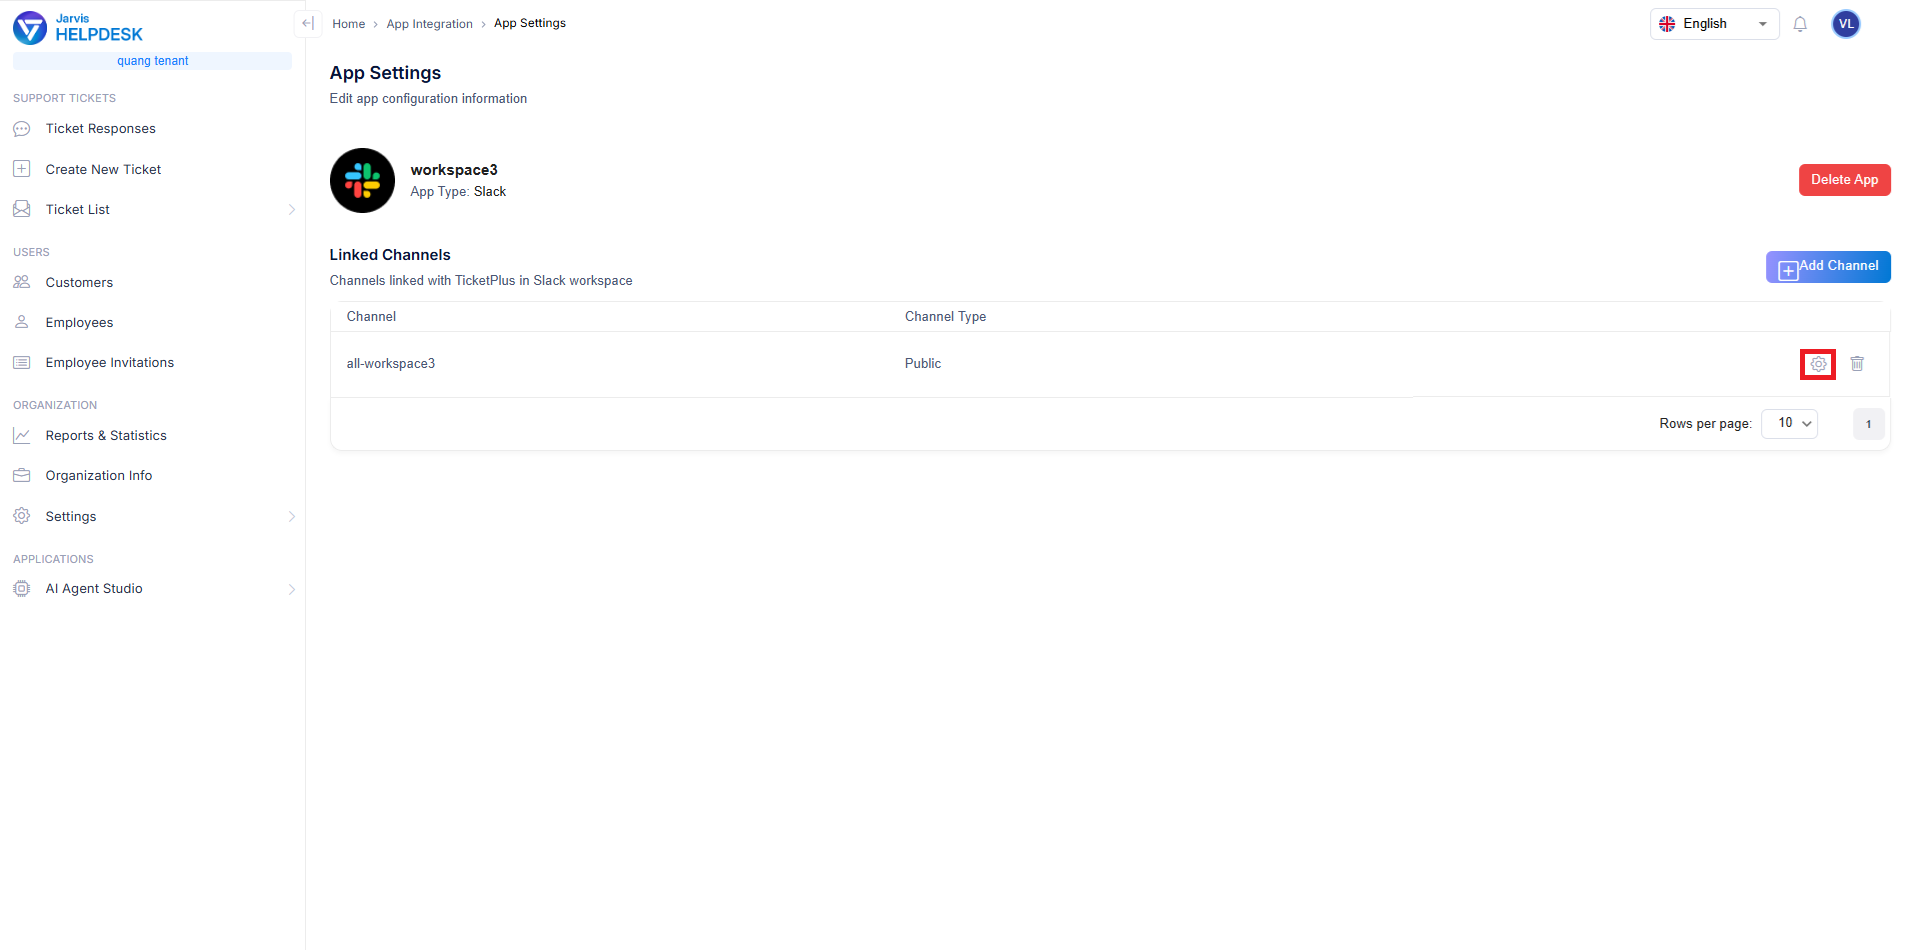
Channel notification settings
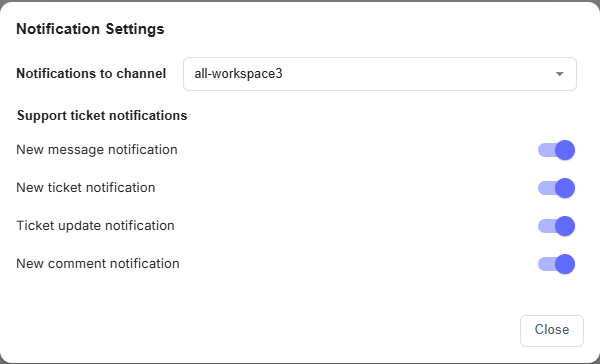
Customize notification types
Note: Make sure you have configured the correct permissions and channels for Slack to ensure full functionality of the integration.